Objective:
The objective of this lab was to learn how to use Arduino Uno and Arduino IDE by implementing simple tasks. By the end we had a basic robot that could autonomously move back and forth and spin in place.
Team Division:
- Meghan Chen, Serena Krech, Alice Song
- Rohit Krishnakumar, Victoria Tu, Michael Yee
Materials used:
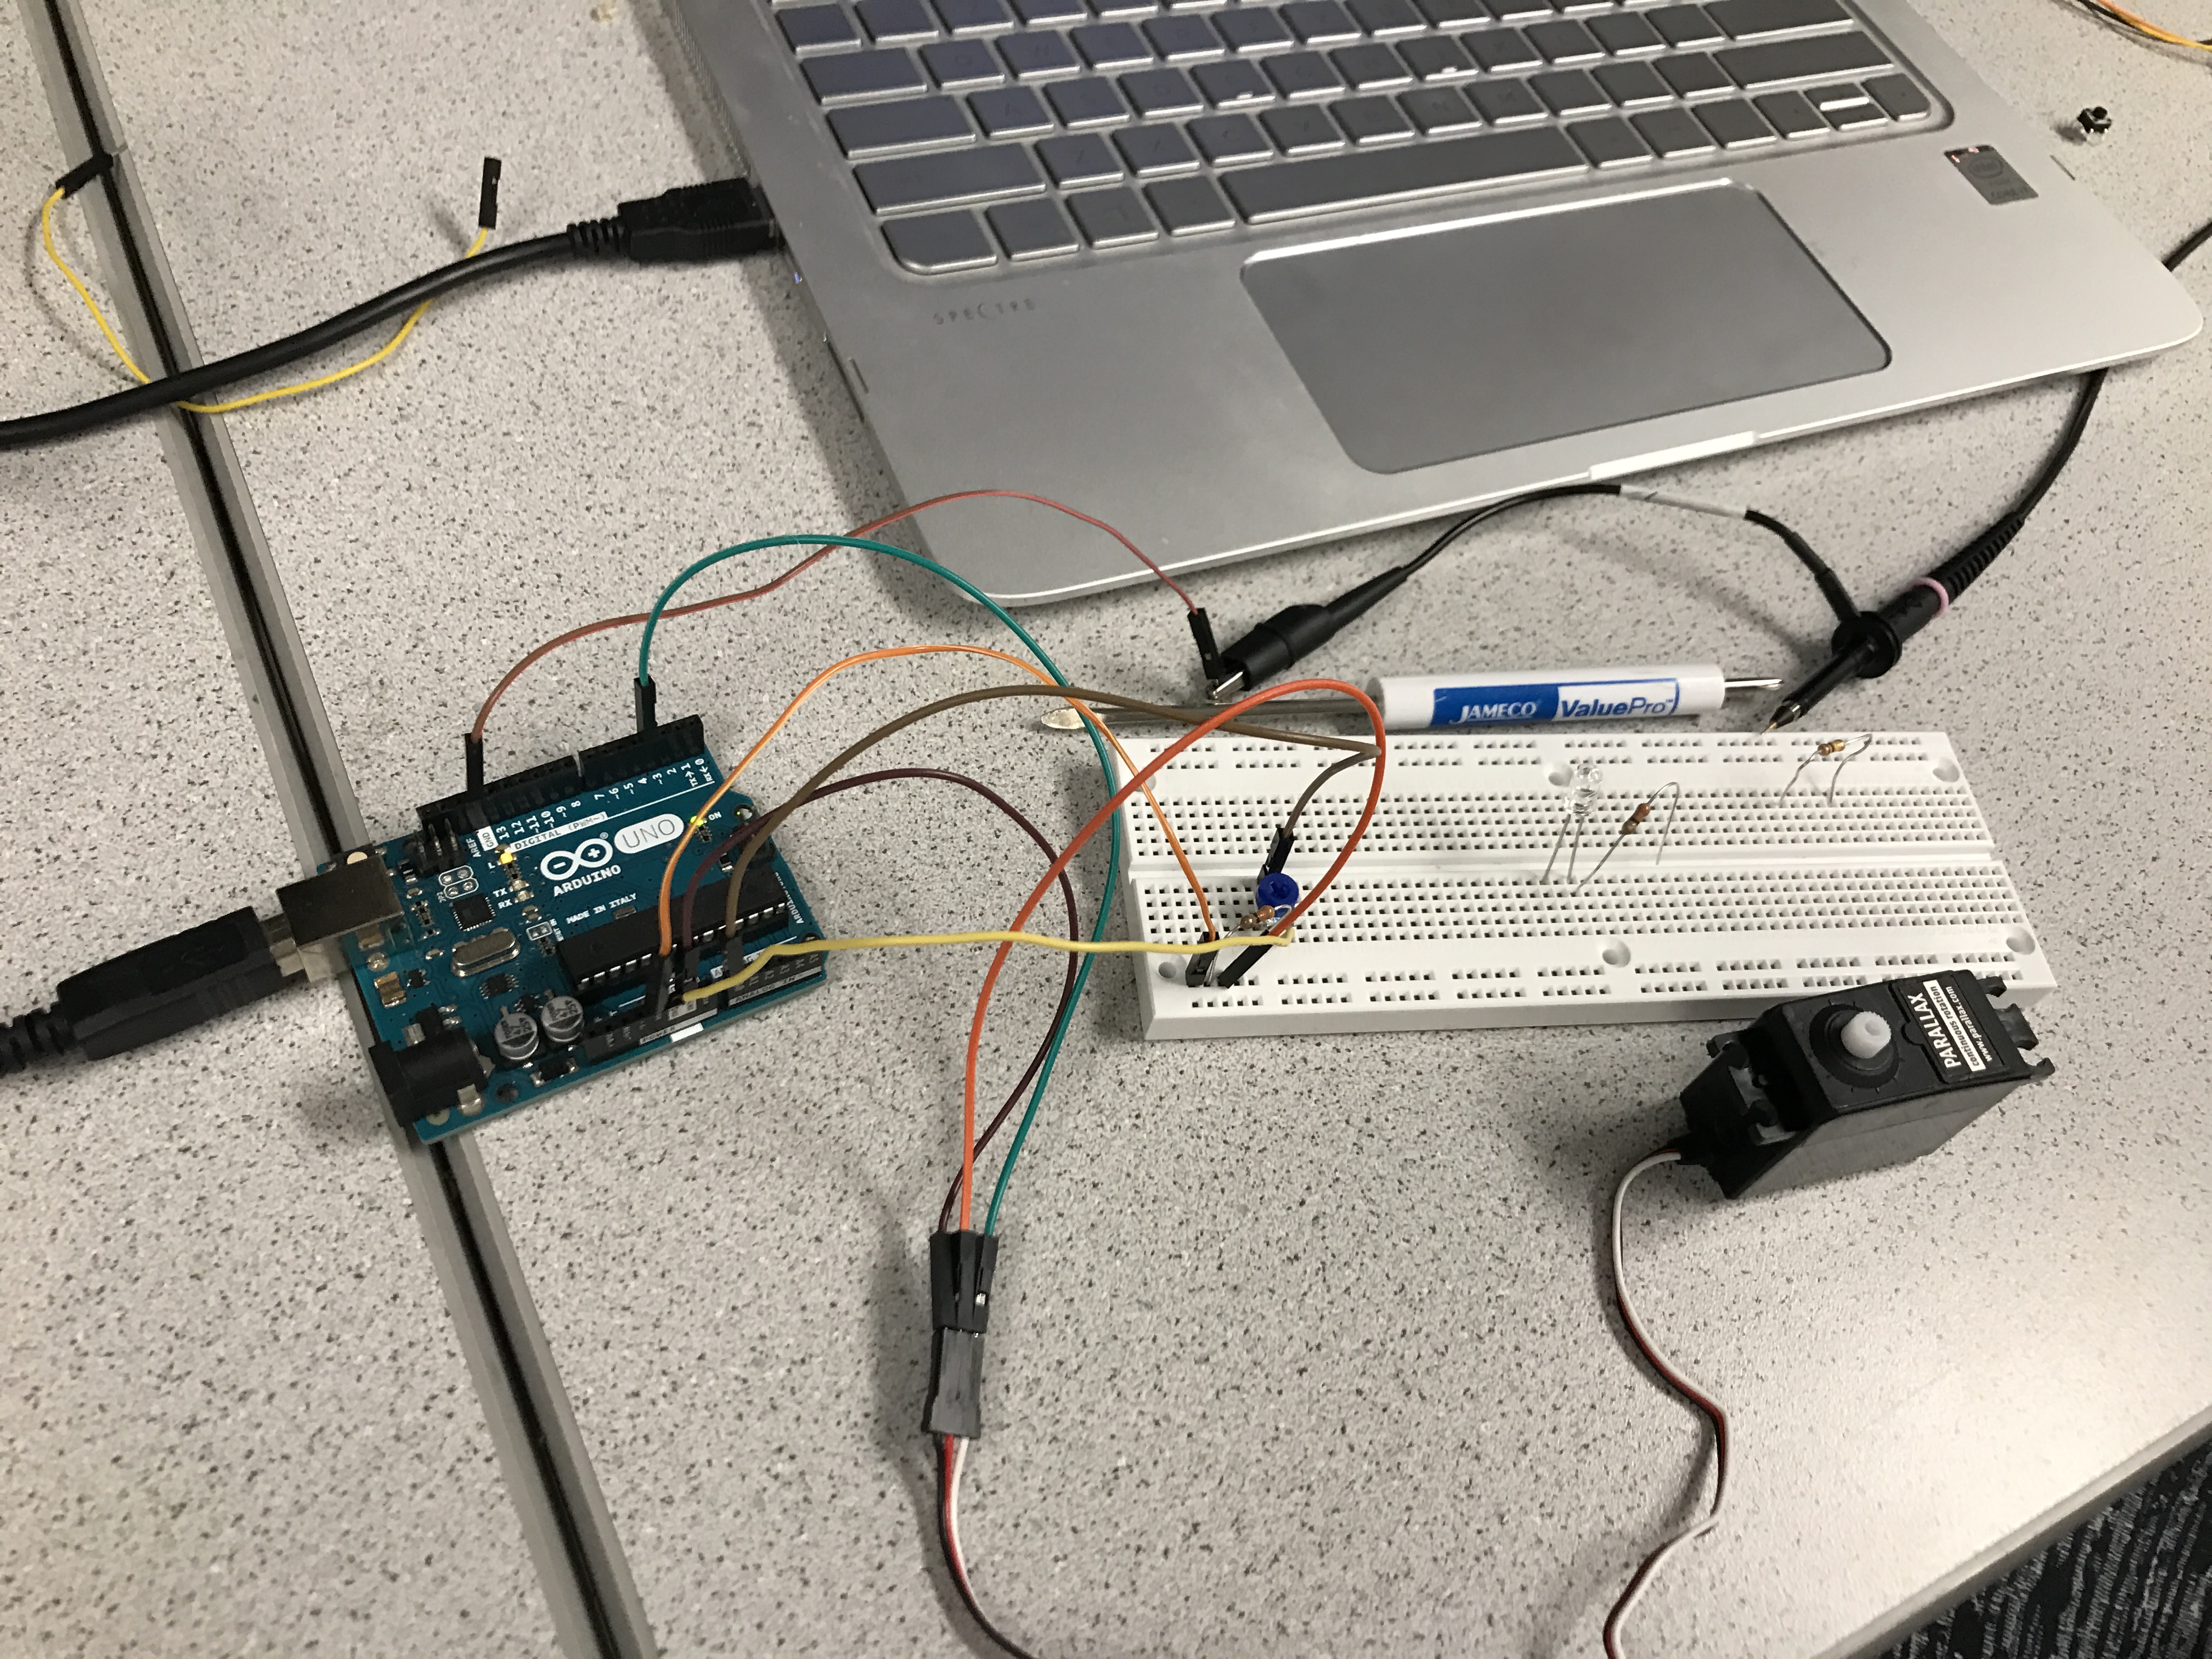
- 1 Arduino Uno
- 1 USB A/B cable
- 1 Continuous rotation servo
- 1 blue LED (could be any visible color)
- 1 Potentiometer
- Several resistors (kΩ range)
- 1 Solderless breadboard
Procedure:
- Install the Arduino IDE
- Test the built-in blink sketch
- Modify the blink sketch to blink an external LED
- Add a potentiometer to control brightness of the external LED
- Check the duty cycle on oscilloscope
- Use the potentiometer to control a continuous rotation servo motor
- Assemble a robot and program it to run autonomously
1. Install the Arduino IDE:
2. Testing the Built-in Blink Sketch:
- We tested the blink example code provided by the Arduino IDE (File > Examples > 1.Basics > Blink) to test the internal LED.

3. Testing Arduino Digital I/O Pins:
- We modified the sample internal blink code to blink the external blue LED.
- For each digital pin on the Arduino, we then connected a resistor and the blue LED in series in order to be sure that each pin was functional. The LED was connected in series with a resistor to control the current and protect the board.

4. Reading Potentiometer Using Serial Communication:
- We tested the serial communication between the Arduino and the laptop by inserting a Serial.begin(9600) command in the setup function and multiple Serial.println commands in the loop function.
- We then added a potentiometer to control the brightness of the LED by reading an analog input from A0.

5. Oscilloscope Reading of Potentiometer-Controlled LED Circuit:
- We hooked up the circuit to an oscilloscope to see the frequency and duty cycles of the signal as the potentiometer changed.
6. Potentiometer-Controlled Servo:
7. Robot Demo: